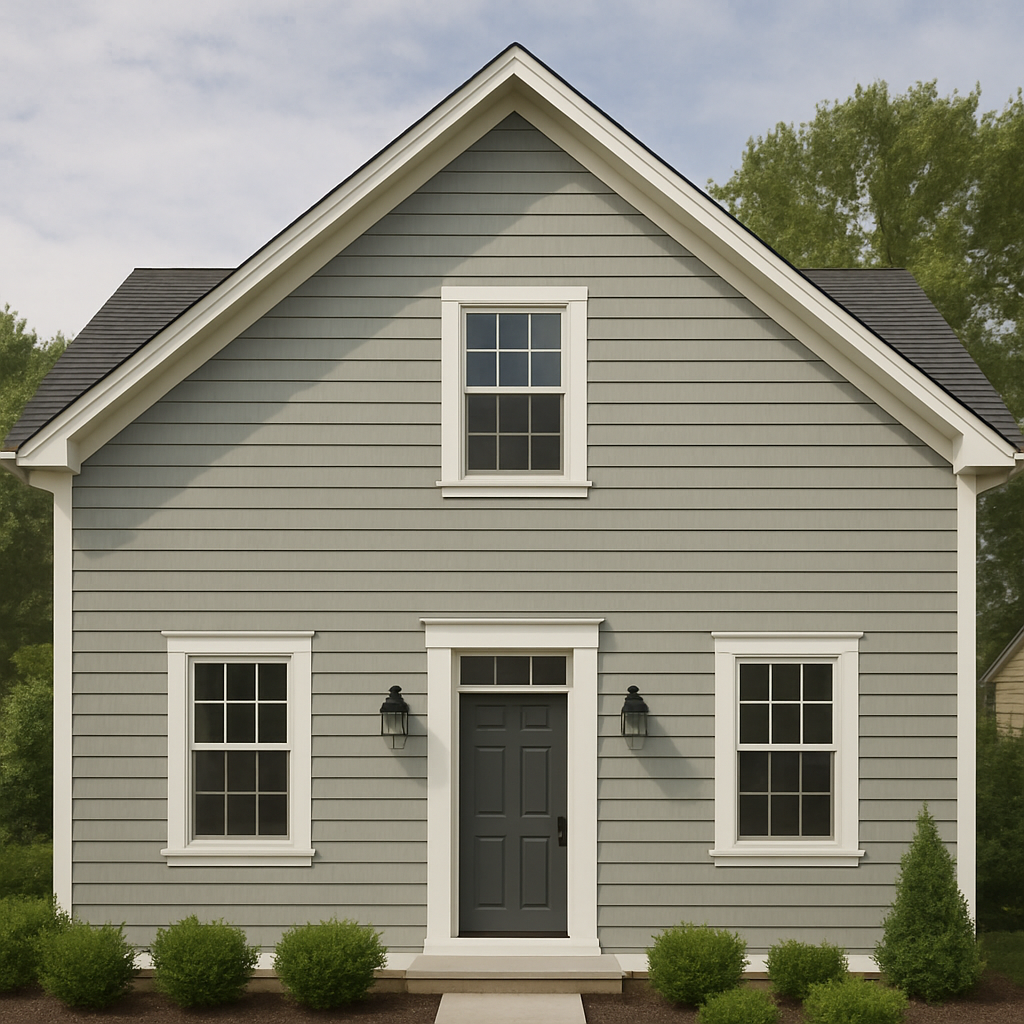
Hardie board siding is a popular choice for homeowners seeking durability and style. This fiber cement siding offers a blend of strength and aesthetic appeal.
Installing Hardie board siding can enhance your home’s exterior while providing long-lasting protection. Proper installation is key to maximizing its benefits.
This guide will walk you through the installation process step-by-step. You’ll learn about the tools and materials needed for a successful project.
Safety is crucial when working with fiber cement siding. We’ll cover essential safety tips to ensure a smooth installation.
Understanding the costs involved can help you budget effectively. We’ll discuss factors that influence siding installation cost.
Maintenance is minimal, but important for longevity. Discover how to keep your Hardie board siding looking its best.
Explore the benefits and options available with Hardie board siding. This guide will help you decide if it’s right for your home.
What is Hardie Board Siding? An Overview
Hardie board siding, made from fiber cement, is renowned for its strength and resilience. This material is a blend of cement, sand, and cellulose fibers.
Fiber cement siding is an excellent alternative to wood and vinyl. Its robust nature helps it withstand harsh weather conditions.
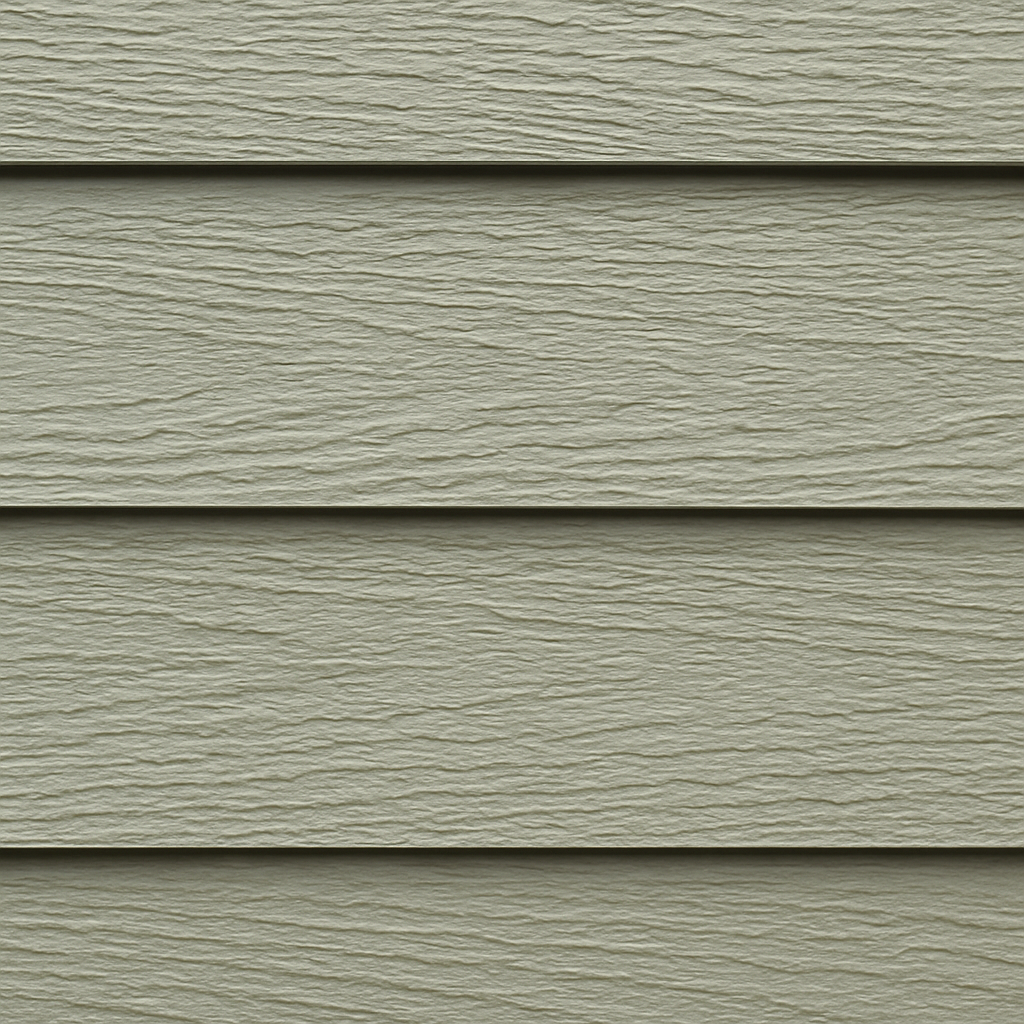
Produced by James Hardie, this siding type is designed to mimic various exterior finishes. It can resemble the appearance of wood, stucco, or even stone.
Here are some key features of Hardie board siding:
- Long-lasting durability
- Low maintenance requirements
- Fire, moisture, and pest resistance
Hardie board siding is available in numerous styles and colors to suit diverse preferences. Whether you’re looking to update your home’s look or increase its value, this siding offers a versatile solution.
Benefits of Hardie Board Siding
Hardie board siding offers numerous advantages that make it a popular choice among homeowners. It is especially favored for its impressive durability and versatility.
A significant benefit is its resistance to environmental threats. This siding material withstands fire, pests, and severe weather conditions, making it ideal for various climates.
Hardie board siding is also low maintenance. It requires only occasional cleaning, with repainting needed every 10-15 years, making it an economical choice.
Key benefits of Hardie board siding include:
- High durability and long lifespan
- Low maintenance demands
- Versatile aesthetic options
- Fire and pest resistance
By selecting Hardie board siding, homeowners can enhance curb appeal and investment value. Its adaptability in style and color allows customization to fit individual home designs effectively.
Tools and Materials Needed for Hardie Board Siding Installation
Before starting the installation, gather all necessary tools and materials. Proper equipment will ensure a smooth and safe process.
The primary tool needed is a circular saw, equipped with a fiber cement blade, crucial for precise cuts. Another essential is a nail gun, which offers secure fastening of the boards to the structure.
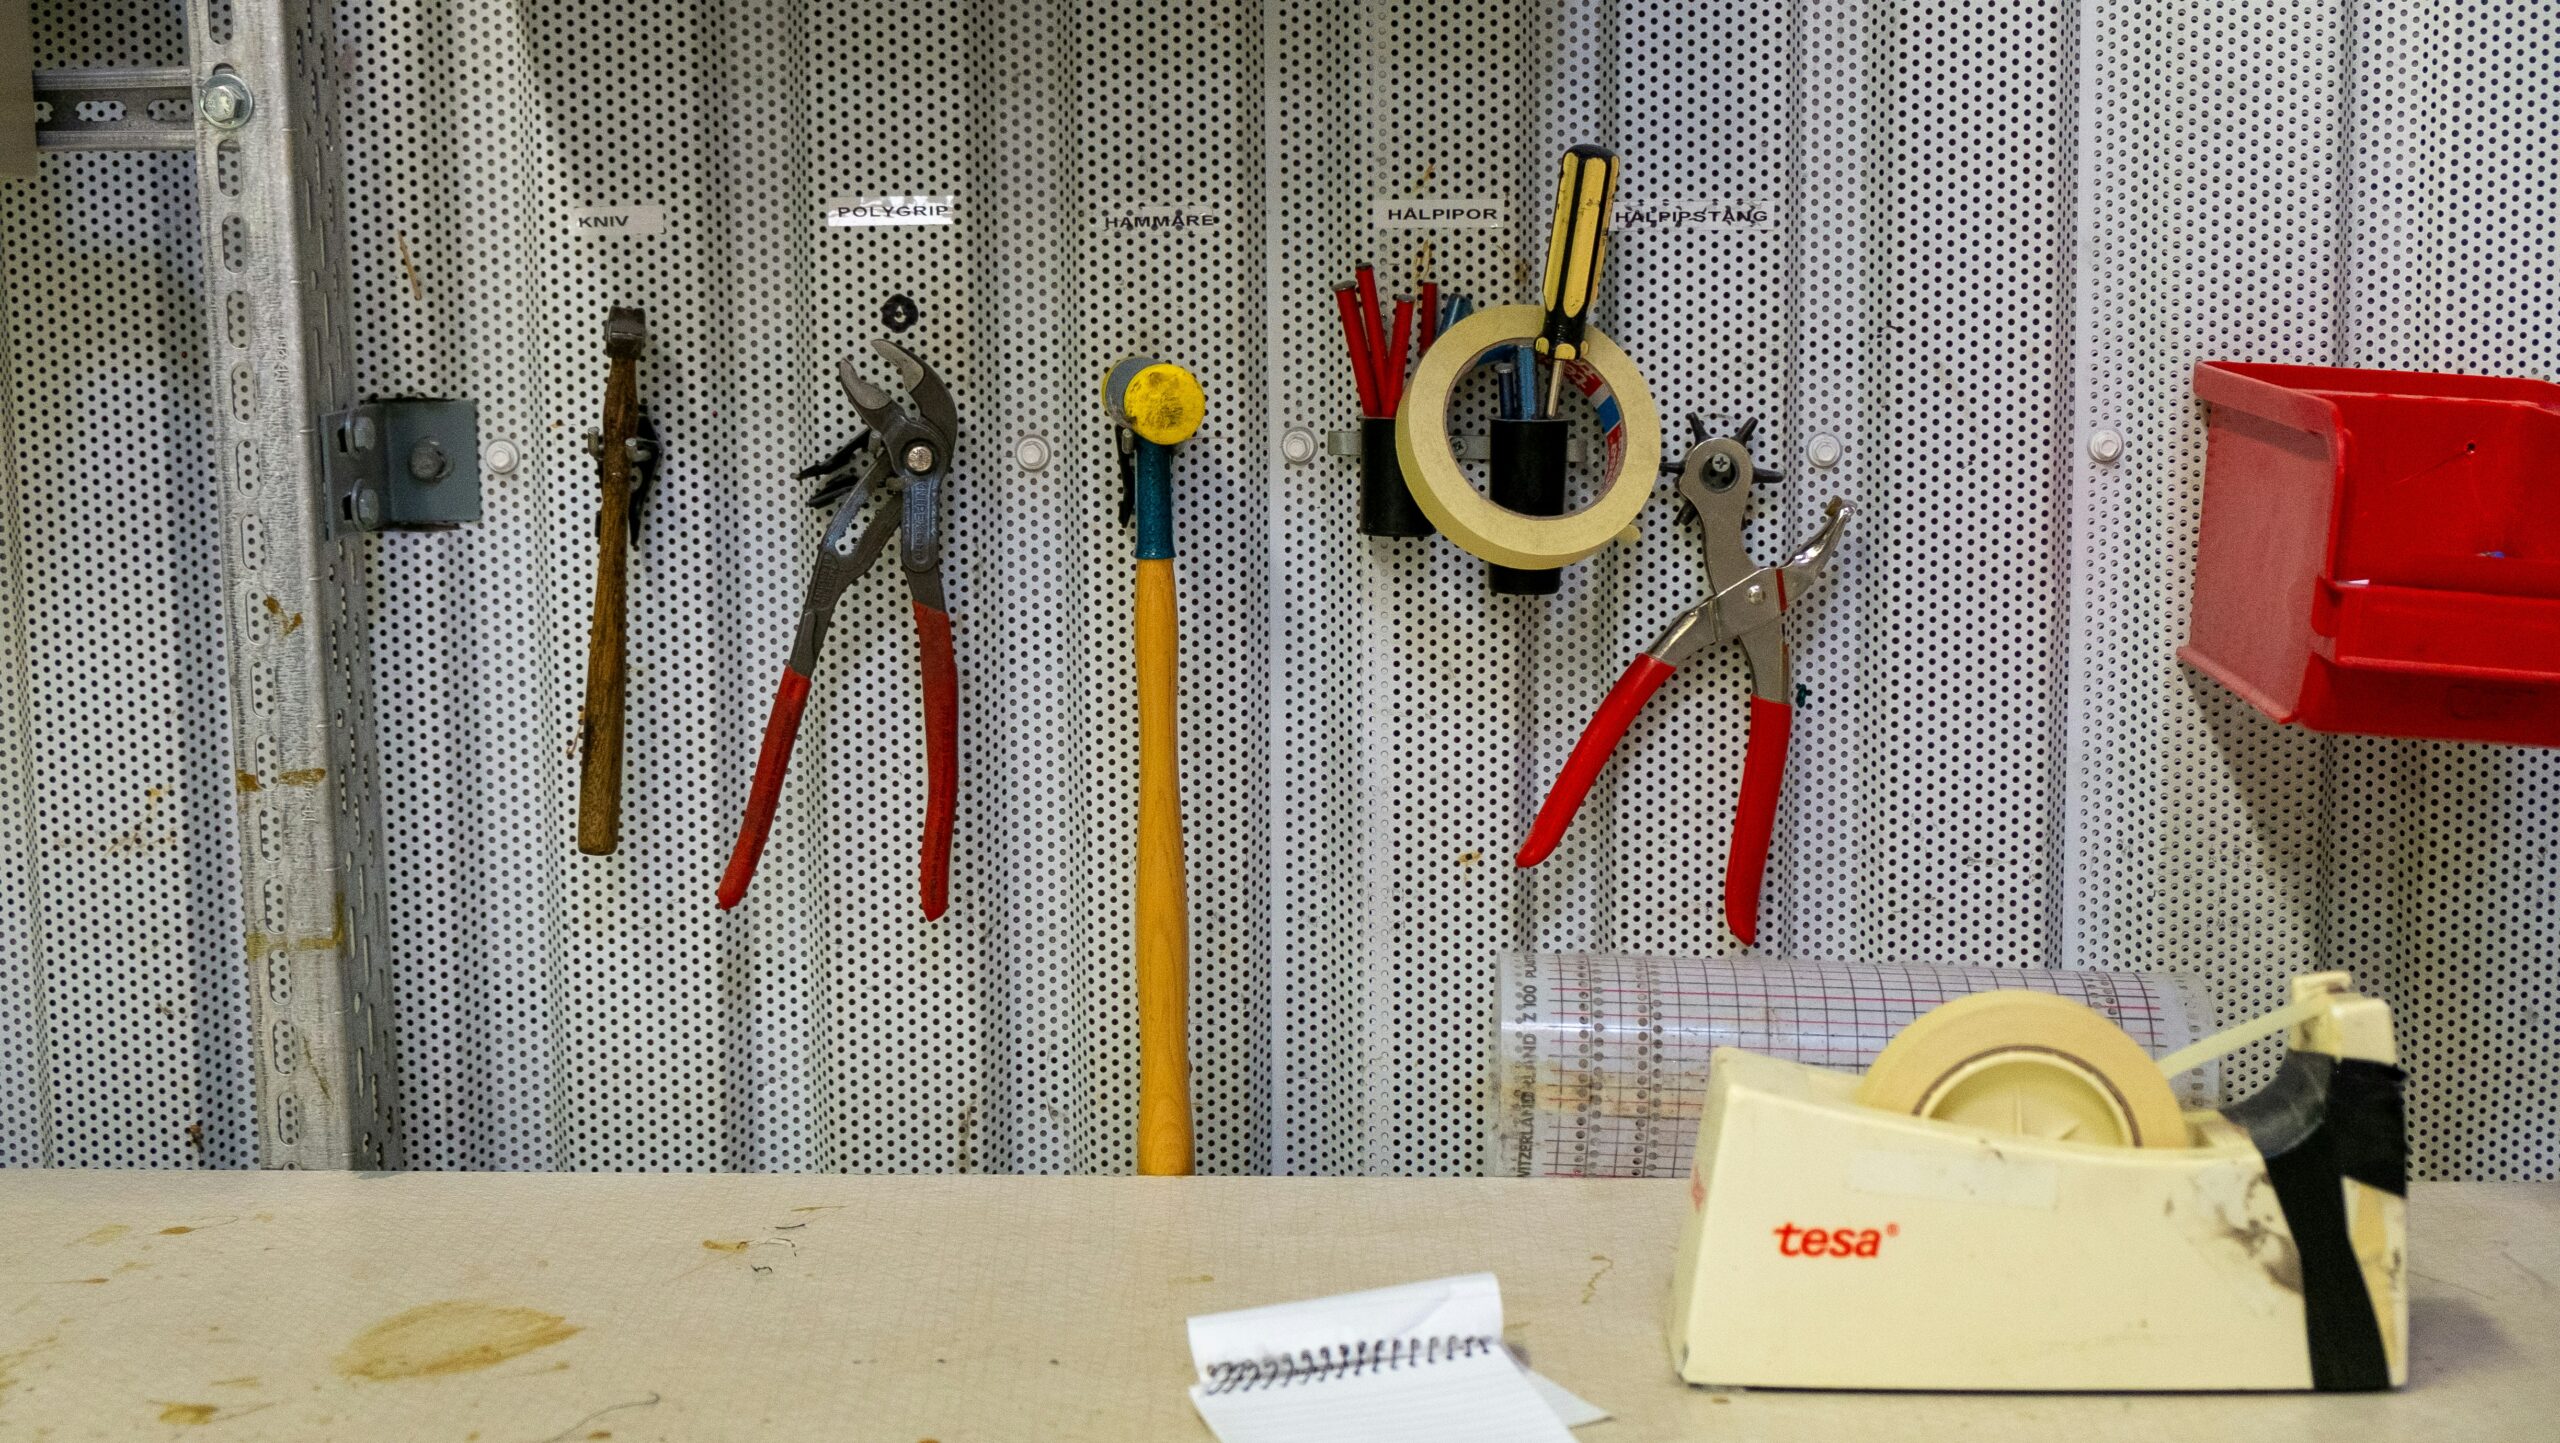
Additional tools and materials include:
- Level and tape measure
- Safety gear (masks and goggles)
- Moisture barrier
- Starter strips
- Caulk gun
Having these items on hand will streamline the installation of Hardie board siding. Ensuring all safety equipment, like masks and goggles, will also protect you during the cutting process, avoiding dust inhalation and providing a safer workspace.
Preparing for Installation: Planning and Safety
Proper planning is critical before starting your Hardie board siding installation. Careful preparation can prevent potential issues and ensure a successful outcome.
Start by assessing the weather conditions. Ideal installation occurs in dry weather, which ensures proper adhesion and reduces risk of moisture damage.
Next, focus on safety. Safety gear is vital, as fiber cement can produce dust harmful to health. Always use:
- Dust masks
- Safety goggles
- Protective clothing
Before installation, check your local building codes. Some projects might require permits or additional inspections to comply with regulations. This step will help avoid complications later.
Finally, measure the surface accurately. Precise measurements ensure the right fit and reduce material waste. This attention to detail is crucial for a professional look and long-lasting results with your new siding.
Step-by-Step Hardie Board Siding Installation Guide
Embarking on a Hardie board siding project requires a structured approach. Follow this step-by-step guide for best results.
The installation process involves several key stages. These include preparing the surface, measuring and cutting, and ensuring secure fastening. Each stage is crucial for a smooth installation.
Tools such as a circular saw with a fiber cement blade, levels, and nail guns are essential. Protective equipment like masks and goggles are also important.
Here’s what you’ll need:
- Hardie boards
- Moisture barrier
- Starter strips
- Nails
- Caulking and sealant
Taking your time with each stage ensures the siding not only looks great but also performs well for years to come. Let’s break down each crucial step.
1. Surface Preparation and Moisture Barrier
Before installation, prepare your surface thoroughly. Clear it of debris and ensure it’s even.
Next, install a moisture barrier to protect the structure. This step is vital for preventing water damage.
- Clean the work area
- Apply moisture barrier evenly
- Check for any gaps or inconsistencies
2. Measuring and Cutting Hardie Boards
Accurate measurements are key. Measure your area carefully to ensure precision.
Cut the Hardie boards using a circular saw. This tool allows for cleaner, straighter edges.
- Measure twice to ensure accuracy
- Mark your cutting lines
- Use a circular saw with a fiber cement blade
3. Installing Starter Strips and First Course
Starter strips provide a strong base for your siding. Install them level with the bottom edge of your wall.
Once installed, begin with the first course. Align it with the starter strip for a solid start.
- Install level starter strips
- Check alignment frequently
- Begin with the first course in line with strips
4. Attaching Hardie Boards: Fastening and Sealing
Securing the boards correctly is vital. Use nails and sealant to keep each board in place.
Nails should be driven into studs for a firm hold. Ensure they are flush with the board’s surface.
- Fasten boards securely to studs
- Apply sealant for protection
- Keep nails flush with surface
5. Overlapping, Seams, and Finishing Touches
Each board should overlap the previous one slightly. This overlap helps in water drainage.
Seams require careful attention. Apply caulking to ensure they are watertight.
- Overlap boards slightly
- Seal seams with caulking
- Check for consistent spacing
Finally, inspect your work. Ensure all boards are aligned, secure, and that seams are sealed well. This careful attention to detail will guarantee a professional finish.
Special Considerations: Hardie Board and Batten Siding Installation
The board and batten style offers a classic, charming look. It involves alternating wide boards and narrow strips, known as battens.
This style requires precision and planning. Focus on alignment and consistent spacing to achieve a clean visual.
Using different tools, like a chalk line, can aid in maintaining straight lines. A little time spent planning will save time during the installation process.
Consider these tips:
- Ensure vertical alignment
- Use a chalk line for guidance
- Maintain consistent spacing
The James Hardie board and batten siding style can transform a home’s exterior. Its elegance and timeless appeal make it worth the extra effort. Don’t rush, and take the time needed for a standout finish.
Siding Installation Tips for a Professional Finish
Achieving a professional finish requires attention to detail and a careful approach. Start by double-checking your measurements and ensuring even spacing for a uniform appearance.
Regularly use a level to confirm straight lines and avoid uneven overlaps. This will enhance the overall look of your siding project.
Here are some tips to keep in mind:
- Use precise measurements
- Confirm alignment with a level
- Seal seams thoroughly
Taking the time to execute these tips will result in a polished, durable finish that elevates your home’s curb appeal.
Hardie Board Siding Installation Cost: What to Expect
Understanding the financial commitment of a Hardie board siding installation is essential. Costs can vary due to several factors including the size of the project and local labor rates.
On average, homeowners may anticipate spending between $6 to $12 per square foot. However, this range can change based on additional factors such as complexity and customization of design.
Here is a general breakdown of what to consider:
- Material costs
- Labor expenses
- Potential permits
by Barthelemy Rigaud (https://unsplash.com/@barthelemy_r)
Investing in quality installation ensures the longevity and performance of your siding. Factoring in these costs early can aid in better project budgeting and planning.
Hardie Board Maintenance and Longevity
Maintaining Hardie board siding is relatively straightforward. Regular care enhances its durability and aesthetic appeal.
Routine inspections help in identifying potential problems early. This practice prevents minor issues from becoming significant repairs.
Key maintenance tasks include:
- Occasional washing with mild detergent
- Repainting every 10-15 years
- Checking for damage after severe weather
By following these simple steps, homeowners can extend the lifespan of their siding significantly. Proper care ensures that the siding remains a beautiful and protective feature of your home. Keeping up with maintenance tasks also helps maintain the home’s value over time.
Comparing Hardie Board to Other Exterior Siding Options
Hardie board siding is often compared to other materials. Its durability sets it apart from other exterior siding options.
Vinyl and wood are common siding choices. However, Hardie board’s fire and pest resistance make it a more reliable option.
Key Comparisons:
- Vinyl Siding: Less durable but lower initial cost
- Wood Siding: Traditional look, requires more maintenance
- Fiber Cement (Hardie Board): Long-lasting, low maintenance, versatile in design
For homeowners considering siding installation, these comparisons help in making an informed decision. Balancing cost, maintenance, and aesthetics is key to choosing the right siding.
Frequently Asked Questions About Hardie Board Siding Installation
When planning a hardie board siding installation, you may have questions. Here are some common inquiries to consider.
Common Questions:
- How long does installation take? Typically, several days, depending on home size.
- Can I install it myself? Yes, but professional help may ensure better results.
- What maintenance is required? Minimal, with occasional cleaning and repainting.
These questions cover basic concerns. They help in understanding the installation and maintenance process for Hardie board. If more specific questions arise, consulting with a siding expert can provide detailed answers.
Conclusion: Is Hardie Board Siding Right for Your Home?
Hardie board siding offers durability and a classic look. It’s a popular choice for homeowners seeking a long-lasting solution. Additionally, its resistance to weather and pests enhances its appeal.
Consider your budget and design goals. Hardie board may be ideal if you value low maintenance and a return on investment. Whether for a new build or renovation, Hardie board could enhance your home’s aesthetic and functional value.

